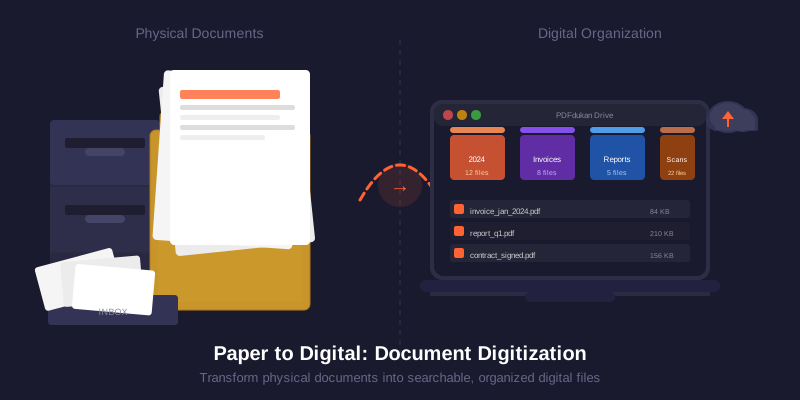
Every organization — and most households — still has paper. Medical records, contracts, receipts, tax documents, handwritten notes. Digitizing them correctly is not simply a matter of photographing them with your phone. Done wrong, you end up with blurry, unsearchable images that are just as inaccessible as the originals. Done right, your documents become searchable, backed up, and retrievable in seconds for years to come. This guide covers everything: hardware vs. browser scanning, file format selection, naming conventions, OCR, compression, and long-term backup strategy.
1. Hardware Scanners vs. Browser-Based Scanning
The first decision in any digitization project is your capture method. For high-volume office scanning, a dedicated flatbed or document-feed scanner produces the most consistent results. For individuals, occasional batches, or remote workers, a browser-based camera scanner like CamMaster is faster to start and requires no hardware investment.
When to Use Dedicated Hardware
Flatbed scanners (Canon imageFORMULA, Fujitsu ScanSnap) excel when you need to process hundreds of pages per day with consistent 300–600 DPI resolution, automatic document feeding, and direct integration with document management systems. They also handle bound books and fragile documents better than a phone camera held overhead.
The trade-off is cost ($150–$800) and the physical constraint of needing the scanner nearby. If you're digitizing an archive of thousands of old records, hardware pays for itself quickly. For a few dozen documents per week, it is overkill.
When to Use Browser-Based Scanning
CamMaster's browser scanner uses your device camera and applies automatic perspective correction, meaning you don't need a flat surface or precise positioning. It corrects keystoning (the trapezoid distortion from shooting at an angle), applies contrast enhancement, and outputs a clean flat scan — all in the browser, with no file uploaded to any server. For most individuals and small teams, this is the practical default in 2026.
2. File Formats: PDF vs. JPG vs. TIFF
The format you save your scanned documents in has long-term consequences for storage size, searchability, and compatibility. Here is a practical breakdown:
| Format | Best For | Searchable? | Compression |
|---|---|---|---|
| PDF (searchable) | Documents you need to search or archive | Yes (with a verified OCR layer) | Varies with page pixels, colour, compression and text-layer data |
| PDF (image-only) | Quick archiving when search is not needed | No | Varies with page pixels, colour and compression |
| JPG | Photos embedded in reports, presentations | No | Best — lossy, very small |
| PNG | Screenshots, documents with fine line art | No | Moderate — lossless |
| TIFF | Legal archival, master copies requiring zero loss | No | Poor — very large files |
For documents you need to search, a searchable PDF can be useful. PDFdukan's Searchable PDF tool currently accepts one English JPG or PNG scan and adds an approximate OCR text layer that must be verified. The separate Image to Text tool returns editable TXT rather than modifying a PDF. For photo archives, choose compression after checking whether small characters remain readable.
3. Resolution: Getting DPI Right
DPI (dots per inch) is one important scan-quality setting, but focus, glare, skew, character size and compression can matter just as much. Here are practical starting points:
- 150 DPI: May be enough for large print viewed on screen, but small characters and OCR results can suffer.
- 300 DPI: A useful target for many office documents; Tesseract's quality guidance says it works best at about 300 DPI or above.
- 600 DPI: Can help with very small text or fine line art when the scanner and source contain that detail, at the cost of larger files.
- 1200 DPI: Produces very large files and is usually unnecessary for ordinary office pages; use it only when a specialist workflow genuinely needs that detail.
Phone-camera megapixels do not translate directly into document DPI because framing, distance, focus and cropping all matter. Keep the page in focus, fill most of the frame, and inspect small text at full size. The OCR tool's Original mode does not silently resize accepted images.
4. File Naming Conventions That Actually Work
A consistent, descriptive naming convention is what separates a usable digital archive from a folder of files called "Scan001.pdf." The convention should encode three things: date, document type, and subject/issuer. A robust format:
YYYY-MM-DD_DocumentType_Subject-or-Issuer.pdf
Examples:
2026-03-15_Invoice_Acme-Corp.pdf
2026-04-01_Contract_NDA-Freelance-Designer.pdf
2026-01-31_TaxReturn_FY2025.pdf
Starting with an ISO-style date (YYYY-MM-DD) usually makes filenames sort chronologically. Spaces are valid on modern systems, but consistent underscores or hyphens can make automation and URL sharing simpler. Avoid characters that your target operating system or storage provider forbids.
Folder Structure
Mirror your naming convention in your folder hierarchy. A reliable two-level structure:
Documents/Finance/→ Invoices, receipts, bank statementsDocuments/Legal/→ Contracts, NDAs, court documentsDocuments/Medical/→ Prescriptions, lab results, insuranceDocuments/Personal/→ ID scans, certificates, correspondenceDocuments/Archive/→ Pre-2020 documents no longer actively needed
5. Making Scans Searchable with OCR
An image-only scan is visually readable but contains no selectable text. A searchable-PDF workflow keeps a visible page image and places an approximate OCR text layer with it so search and copy may work. Search behaviour and copied text depend on the viewer and OCR accuracy, so verify the downloaded PDF.
Use the PDFdukan Image to Text tool for one JPG, PNG or WEBP page when you need editable text or a TXT download. It exposes 15 single-language models and two listed English mixed modes. Use the separate Searchable PDF tool when you need an approximate English OCR layer inside a PDF. For the technical workflow and limitations, see the OCR guide.
6. Compression: Reducing File Size Without Losing Quality
There is no honest universal file-size target for a scanned page. Dimensions, colour, noise, compression format and document complexity can change the result substantially. Reduce size only after checking small text and signatures at normal zoom:
- For text documents: Convert to grayscale or black-and-white before compression. Color adds file size with no benefit for text-only pages.
- For mixed documents (text + photos): Compare the available PDF compression presets; photo-heavy pages and small print need more visual checking.
- For JPG photos embedded in reports: Use PDFdukan's image compressor and choose quality by preview rather than a universal percentage.
CamMaster's scanner prioritises readable output. For an existing large PDF, use the separate Compress PDF tool, compare its presets, and keep the original until the compressed copy has been verified.
7. Backup Strategy: The 3-2-1 Rule
Digitizing documents only solves the physical loss risk. You still need a backup strategy to guard against hardware failure, ransomware, and accidental deletion. The industry standard is the 3-2-1 rule:
- 3 copies of every important document
- 2 different storage media (e.g., local SSD + external hard drive)
- 1 offsite copy (cloud storage: Google Drive, Dropbox, or OneDrive)
For many individuals, a practical setup is a primary copy on the computer, an encrypted or access-controlled second copy, and a periodic offline or offsite backup. Check the provider's current quota, terms and recovery options. Businesses should document retention, access and restore testing.
8. Legal Admissibility of Digital Documents
Whether a scan is accepted depends on the jurisdiction, document type, authority, retention rule and ability to prove authenticity. OCR text is especially not a substitute for the source image because recognition can change names, dates or clauses.
Keep original documents whenever a regulator, court, bank, employer or contract may require them. Before destroying a paper original, check the current rule with the relevant authority or a qualified professional. This guide is a workflow overview, not legal or tax advice.
📷 Start Digitizing — Free
CamMaster's browser scanner lets you correct page perspective, compare filters, and export JPG, PNG or PDF. No app download or account is required for the basic workflow.
Try CamMaster Scanner Free →Quick Reference Checklist
- ✅ Aim for readable character detail — around 300 DPI is a useful scan target, not a guarantee
- ✅ Verify perspective correction — keep text lines level and page edges complete
- ✅ Choose the right OCR output — editable TXT for extracted text or the dedicated English Searchable PDF workflow for a text layer
- ✅ Name files YYYY-MM-DD_Type_Subject — sortable and descriptive
- ✅ Compress after visual checking — keep the original until small text and signatures are verified
- ✅ Apply 3-2-1 backup rule — local + cloud + offsite
- ✅ Organize into typed folders — Finance, Legal, Medical, Personal